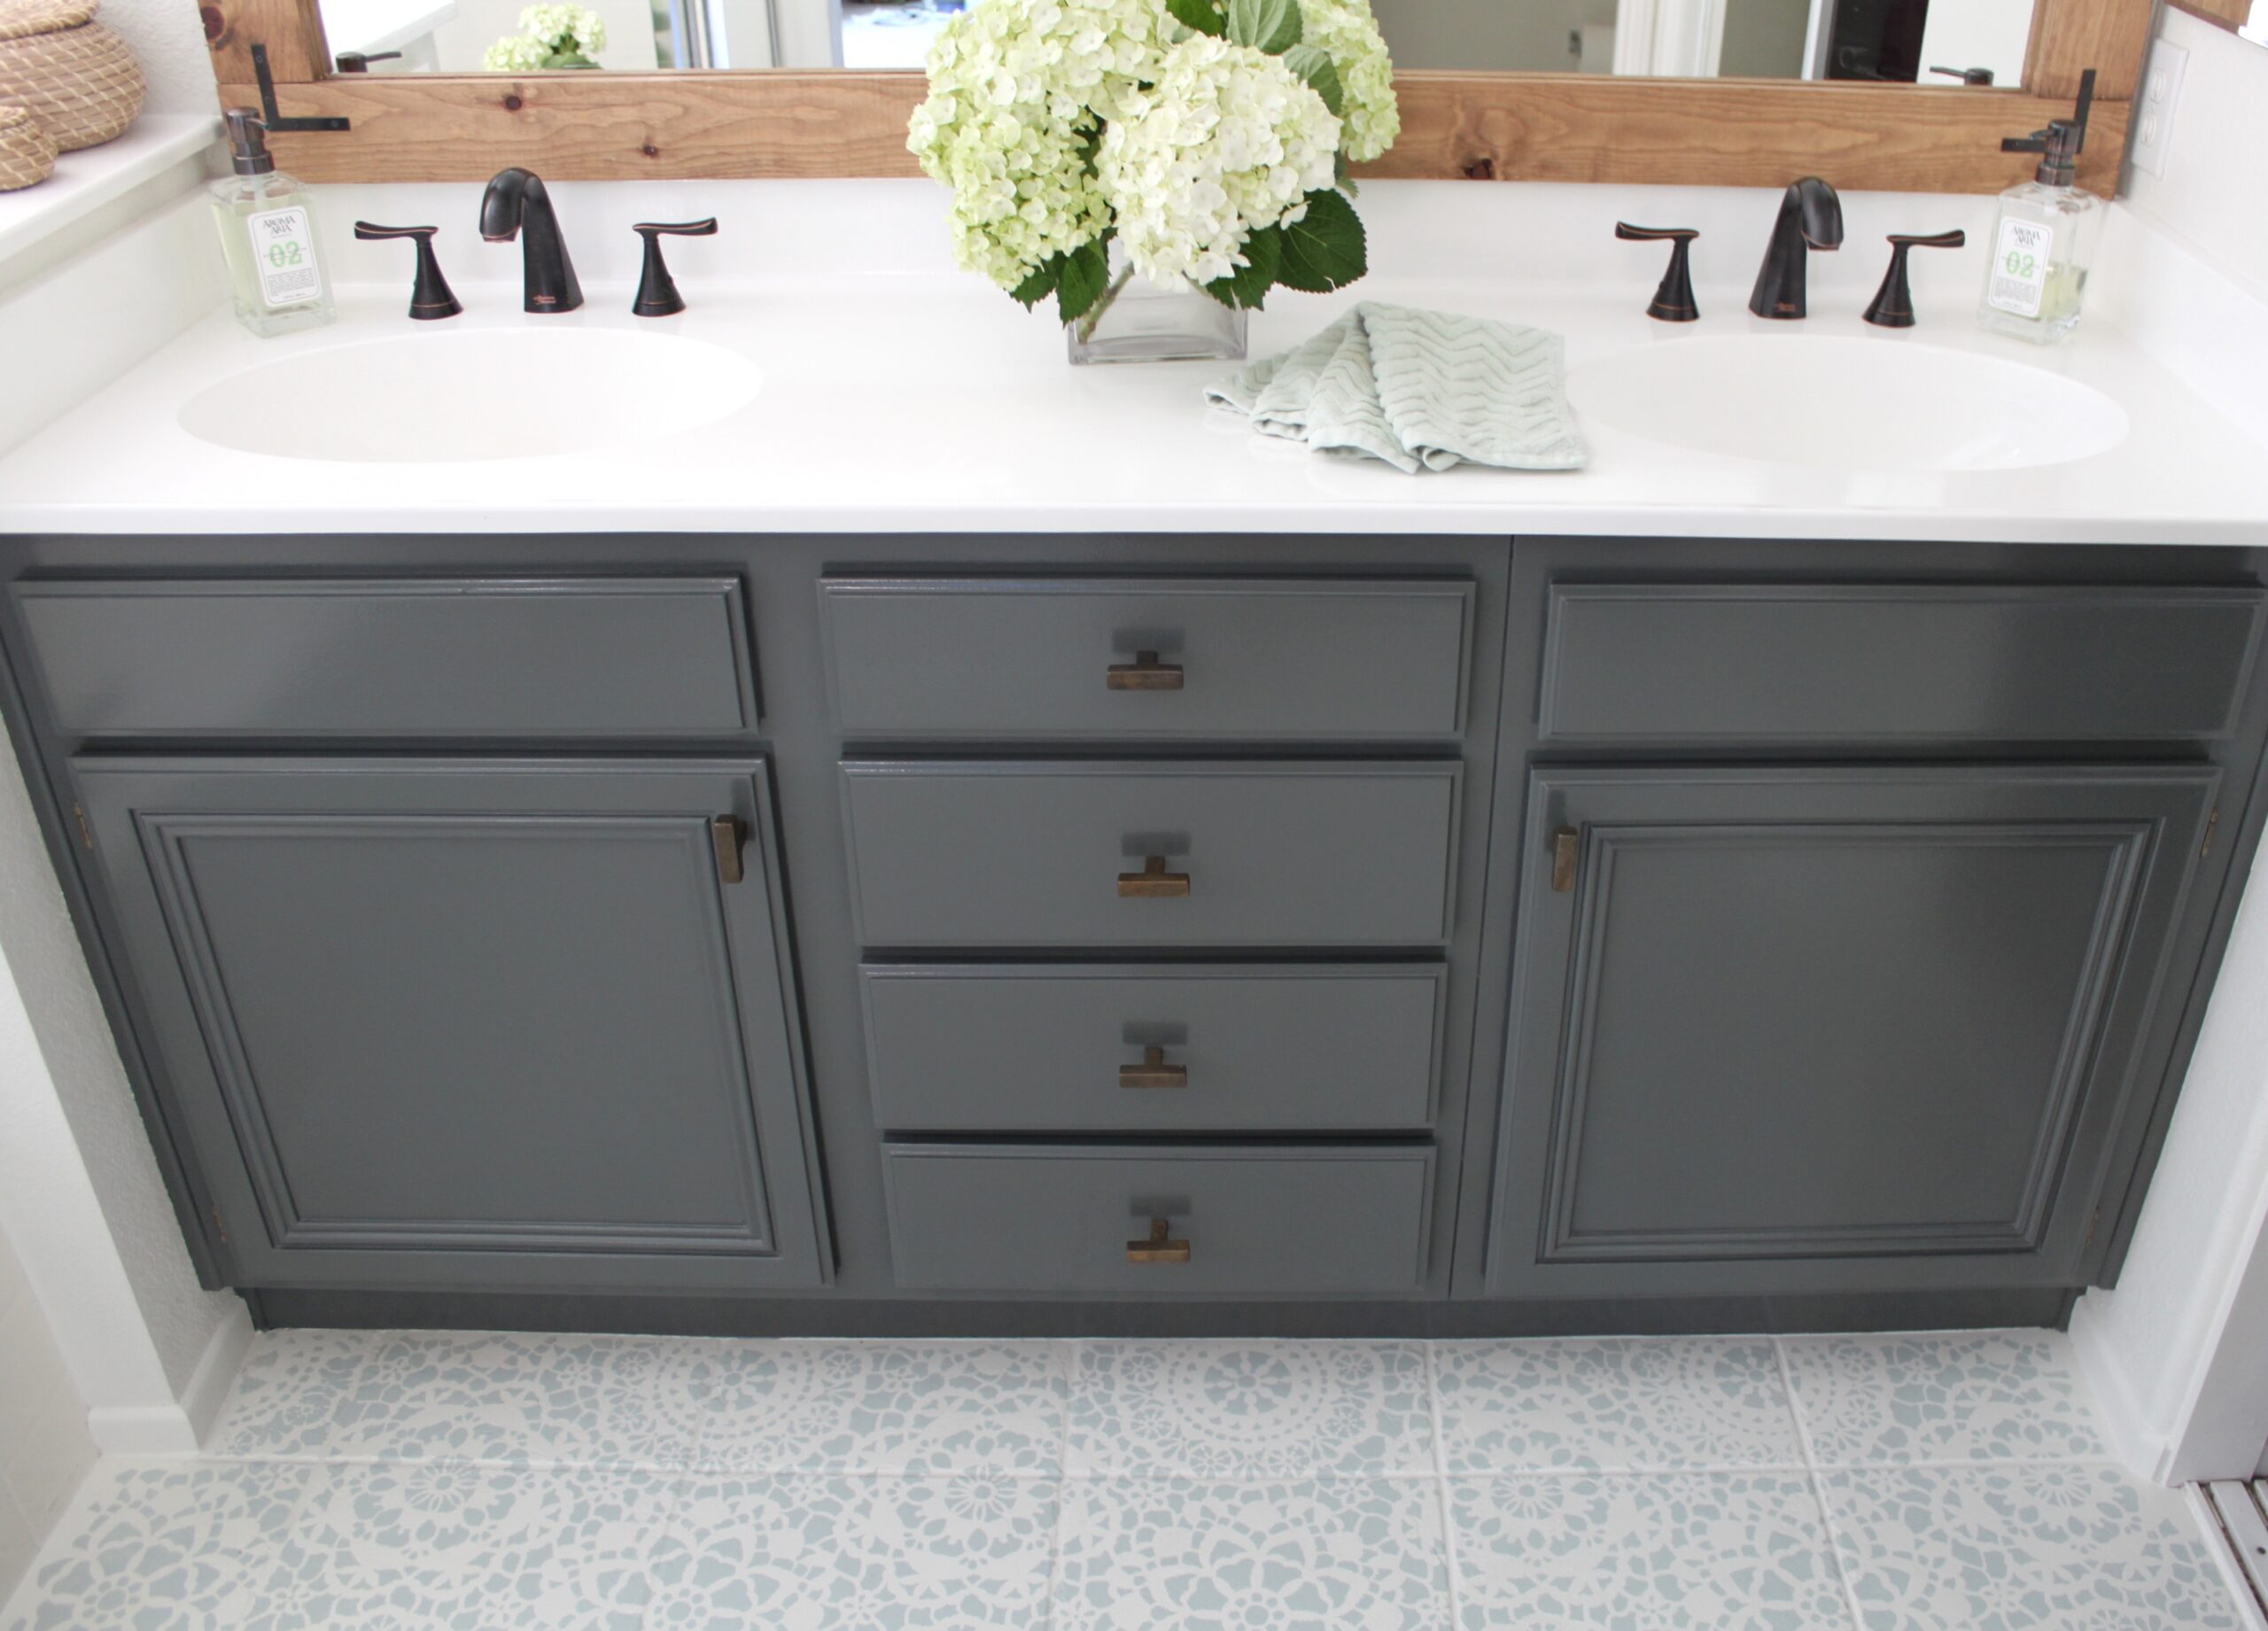
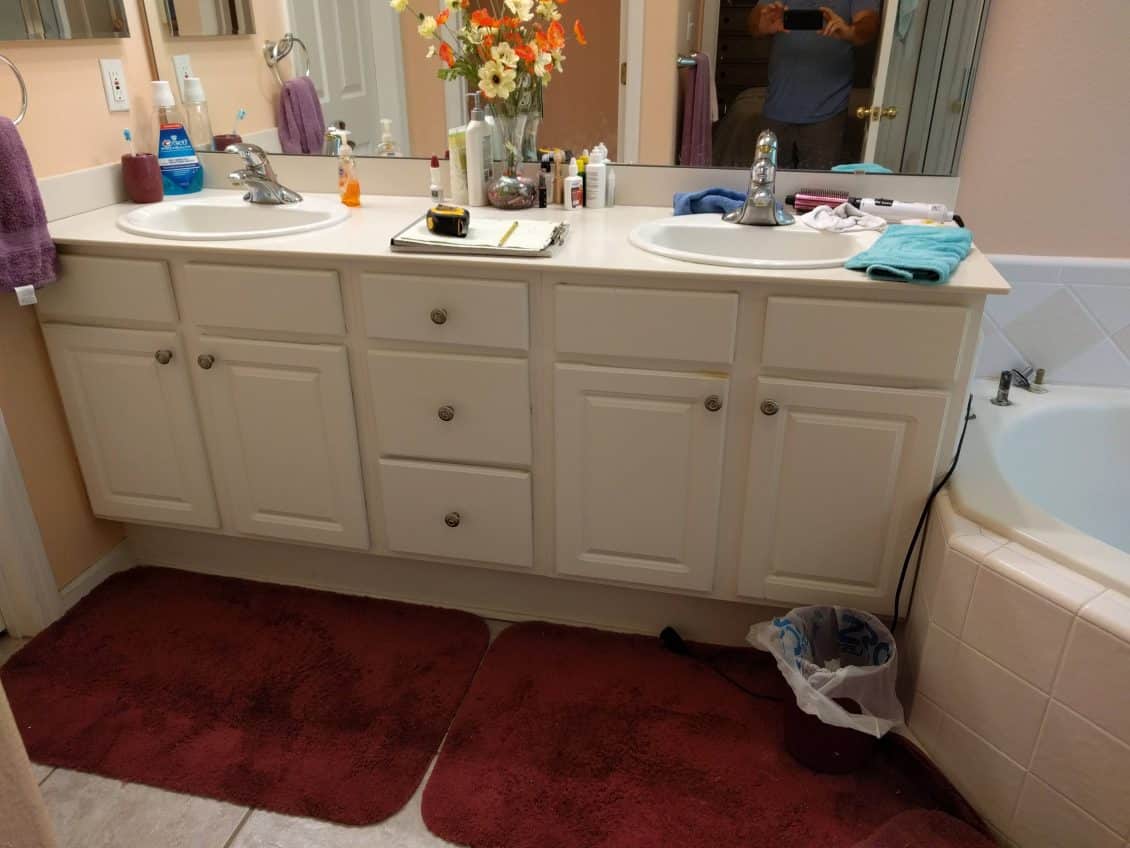
Assessing the Damage and Planning the Restoration: How To Restore Bathroom Cabinets

Before diving into the restoration process, a thorough assessment of the damage is crucial. This step helps you understand the extent of the work required and choose the most effective restoration approach.
Identifying the Extent of Damage
The first step is to identify the type and extent of damage to your bathroom cabinets. Bathroom cabinets are susceptible to various forms of damage due to their humid environment. Here are some common types of damage:
- Water Damage: Water damage can manifest in various ways, from minor water stains to extensive warping and swelling of the wood. Leaky pipes, overflowing sinks, or even condensation can contribute to water damage. For instance, a small leak from a faucet over time can cause significant damage to the cabinet base, leading to warping and softening of the wood.
- Mold Growth: Dampness and humidity create ideal conditions for mold growth. Mold can appear as black, green, or white patches, often accompanied by a musty odor. It’s essential to address mold growth promptly as it can cause health issues. For example, a leaky window or poor ventilation in the bathroom can lead to mold growth on the cabinet surfaces, especially in areas with high humidity.
- Scratches and Dents: Scratches and dents are common occurrences on bathroom cabinets, particularly if they’re older. These imperfections can range from minor surface scratches to deep gouges in the wood. A heavy object falling on the cabinet door or frequent use of abrasive cleaning products can cause scratches and dents.
- Peeling Paint: Over time, paint on bathroom cabinets can chip, peel, or crack, especially if exposed to moisture and humidity. This can make the cabinets look unsightly and require repainting. Repeated exposure to hot steam from showers or excessive cleaning with harsh chemicals can contribute to paint peeling.
Determining the Restoration Approach
Once you’ve identified the damage, you need to determine the most suitable restoration approach. This decision depends on the severity of the damage and your desired outcome. Here are some common restoration approaches:
- Refinishing: Refinishing involves sanding down the existing finish and applying a new layer of paint or stain. This is a good option for cabinets with minor scratches, dents, or peeling paint. For example, if the cabinet doors have minor scratches and the paint is slightly chipped, refinishing can effectively restore their appearance.
- Replacing Cabinet Doors: If the cabinet doors are severely damaged, replacing them might be a better option than refinishing. This involves purchasing new doors that match the existing style and dimensions. For example, if the cabinet doors are warped due to water damage, replacing them is a more practical solution than trying to refinish them.
- Replacing the Entire Cabinet: In cases of extensive damage, such as severe water damage or structural issues, replacing the entire cabinet might be the best course of action. This option involves removing the old cabinet and installing a new one. For example, if the cabinet frame is severely warped or the cabinet base has rotted due to water damage, replacing the entire cabinet is the most effective solution.
Gathering Necessary Tools and Materials
To restore your bathroom cabinets effectively, you’ll need to gather the right tools and materials. The specific tools and materials will vary depending on the restoration approach you choose. However, here is a general list of tools and materials that you might need:
- Sandpaper: You’ll need sandpaper in various grits for sanding down the existing finish, preparing the surface for painting, and smoothing out any imperfections. It’s recommended to use a coarse grit sandpaper for removing old paint or rough surfaces and fine grit sandpaper for smoothing and finishing.
- Wood Filler: Wood filler is used to fill in scratches, dents, or gaps in the wood. Choose a wood filler that matches the color of your cabinets for a seamless finish.
- Paint or Stain: Select a paint or stain that’s suitable for bathroom environments. Look for moisture-resistant and mildew-resistant options. For example, oil-based paints are known for their durability and moisture resistance, making them suitable for bathroom cabinets.
- Primer: Primer helps to create a smooth surface for the paint or stain to adhere to. It also helps to prevent the wood from absorbing the paint unevenly. Use a primer that’s compatible with the paint or stain you choose.
- Brushes and Rollers: You’ll need brushes for applying primer, paint, and stain. Choose brushes with appropriate sizes and bristles for the task. Rollers are also useful for applying paint or stain to large surfaces.
- Protective Gear: Always wear protective gear, including gloves, eye protection, and a respirator, when working with chemicals, sanding dust, or paint.
Cleaning and Preparing the Cabinets

With the damage assessed and a plan in place, it’s time to get your hands dirty. Cleaning and preparing your bathroom cabinets is crucial for a successful restoration. This process removes dirt, grime, and old finishes, creating a smooth surface for your new paint or stain.
Removing Cabinet Doors and Hardware
Before diving into cleaning, remove the cabinet doors and hardware. This allows for easier access to all surfaces and prevents damage to the hardware during the cleaning process.
- Hinges: Depending on the type of hinges, you may need a screwdriver or a specialized tool for removal. For example, European hinges often require a small Allen wrench.
- Handles and Knobs: Most handles and knobs can be removed by loosening a screw or nut on the back. Some handles may have a decorative cover that needs to be removed first.
- Doors: Once the hardware is removed, gently lift the doors off the hinges. If the hinges are stubborn, try using a small rubber mallet to tap them loose.
Thorough Cleaning
A thorough cleaning is essential to remove years of accumulated dirt, grime, and mildew.
- Protective Gear: Wear gloves, a mask, and eye protection to prevent exposure to dust, chemicals, and mildew spores.
- Cleaning Solution: A mixture of mild dish soap and warm water is usually sufficient for general cleaning. For stubborn stains or mildew, use a commercial cleaner specifically designed for bathroom surfaces.
- Cleaning Techniques: Use a soft cloth or sponge to apply the cleaning solution to the cabinets. For stubborn grime, use a non-abrasive scrub brush. Rinse the cabinets thoroughly with clean water and dry them completely with a soft cloth.
Sanding and Prepping the Surface
Sanding is crucial to create a smooth surface for painting or staining. It removes old paint, varnish, or damaged wood, ensuring a uniform finish.
- Sandpaper Types: Use different grits of sandpaper depending on the condition of the surface. Start with a coarser grit (like 80 grit) to remove old paint or varnish, and then progress to a finer grit (like 120 or 180 grit) for smoothing the surface.
- Sanding Technique: Sand the cabinets in the direction of the wood grain. Apply light pressure and avoid sanding too aggressively, as this can damage the wood.
- Dust Removal: After sanding, use a tack cloth to remove any dust particles. This ensures a clean surface for painting or staining.
Restoring the Cabinets

Now that your cabinets are clean and prepped, it’s time to tackle the restoration process. This is where you bring those tired cabinets back to life.
Repairing Damaged Areas, How to restore bathroom cabinets
Before applying primer and paint, address any damage to the cabinets. This includes filling cracks, holes, and scratches.
- Wood Filler: For minor cracks and scratches, use a wood filler that matches the cabinet’s wood type. Apply the filler with a putty knife, ensuring it’s level with the surrounding surface. Allow it to dry completely before sanding it smooth.
- Epoxy: For larger holes and deep scratches, epoxy is a stronger option. Mix the epoxy according to the manufacturer’s instructions and apply it to the damaged area. Use a putty knife to smooth the epoxy and allow it to cure completely.
- Caulk: For gaps and cracks between cabinet panels, use paintable caulk. Apply the caulk with a caulk gun, smoothing it with a damp finger. Allow the caulk to dry before painting.
Applying Primer and Paint
Primer helps paint adhere to the cabinets and provides a smooth, even surface. It also hides any imperfections in the wood.
- Choosing the Right Primer: For bathroom cabinets, choose a primer specifically designed for high-moisture environments. This will help prevent mold and mildew growth.
- Applying Primer: Use a brush or roller to apply the primer evenly to the cabinets. Ensure all surfaces are covered, including the inside of the doors and drawers. Allow the primer to dry completely before applying paint.
- Choosing the Right Paint: For bathroom cabinets, choose a high-quality paint that is also designed for high-moisture environments. Oil-based paint is a good option, as it is more durable and water-resistant. However, latex paint is also suitable and dries faster.
- Applying Paint: Use a brush or roller to apply the paint evenly to the cabinets. Apply two or three coats, allowing each coat to dry completely before applying the next.
Reinstalling Doors and Hardware
Once the paint is dry, it’s time to reinstall the doors and hardware. This is a straightforward process, but it’s important to ensure everything is aligned properly.
- Reinstalling Doors: Ensure the hinges are properly aligned and that the doors open and close smoothly. If needed, adjust the hinges to ensure proper alignment.
- Reinstalling Hardware: Reinstall knobs, pulls, and other hardware, making sure they are securely fastened.
How to restore bathroom cabinets – Restoring bathroom cabinets is a great way to give your bathroom a fresh look without a complete overhaul. A good cleaning and a fresh coat of paint can work wonders. If you’re looking for a color scheme that’s both calming and stylish, you might want to consider a blue white and silver bedroom color palette.
It’s a classic choice that can be adapted to any bathroom style. After you’ve restored your cabinets, don’t forget to add some finishing touches, like new hardware or decorative accents, to really complete the look.
Restoring bathroom cabinets can be a fun project, and you might find yourself needing some inspiration along the way. Maybe you’re thinking about a fresh, clean look, like the kind you’d find with blue and white bedroom curtains.
While those colors might be more suited for the bedroom, they could inspire you to choose a similar palette for your bathroom cabinets, creating a spa-like atmosphere. Once you’ve got your color scheme sorted out, you can get to work on sanding, priming, and painting those cabinets to bring them back to life.
